Quickstart
Note: You can also buy AIOsense as a kit on tindie.
Order PCB

First of all you need the PCB. We recommend PCBWay because it's the most straight forward experience and the quality is excellent. Just click on the link and take your order (you can also use this link³ for register to get 5$ off on your first order). But you can actually choose any PCB manufacturer. Please notice that not all of them have the same capabilities. We tried to make our PCB as generic as possible, it should work for most of them but try this at your own risk.
For all other manufacturer (like JLCPCB) please upload the zip file which you can find at the release page.
Order parts
Now that you have the PCB, we still need the remaining parts. There is a separate BOM (Bill Of Materials) for each AIOsense version. Open the pdf file and order all green marked lines.
You can get most parts from sellers like Mouser, Farnell or Digi-Key. Direct links to the sensors can be found here.
Please make sure you pick the right BME680 module. It should look like
this: 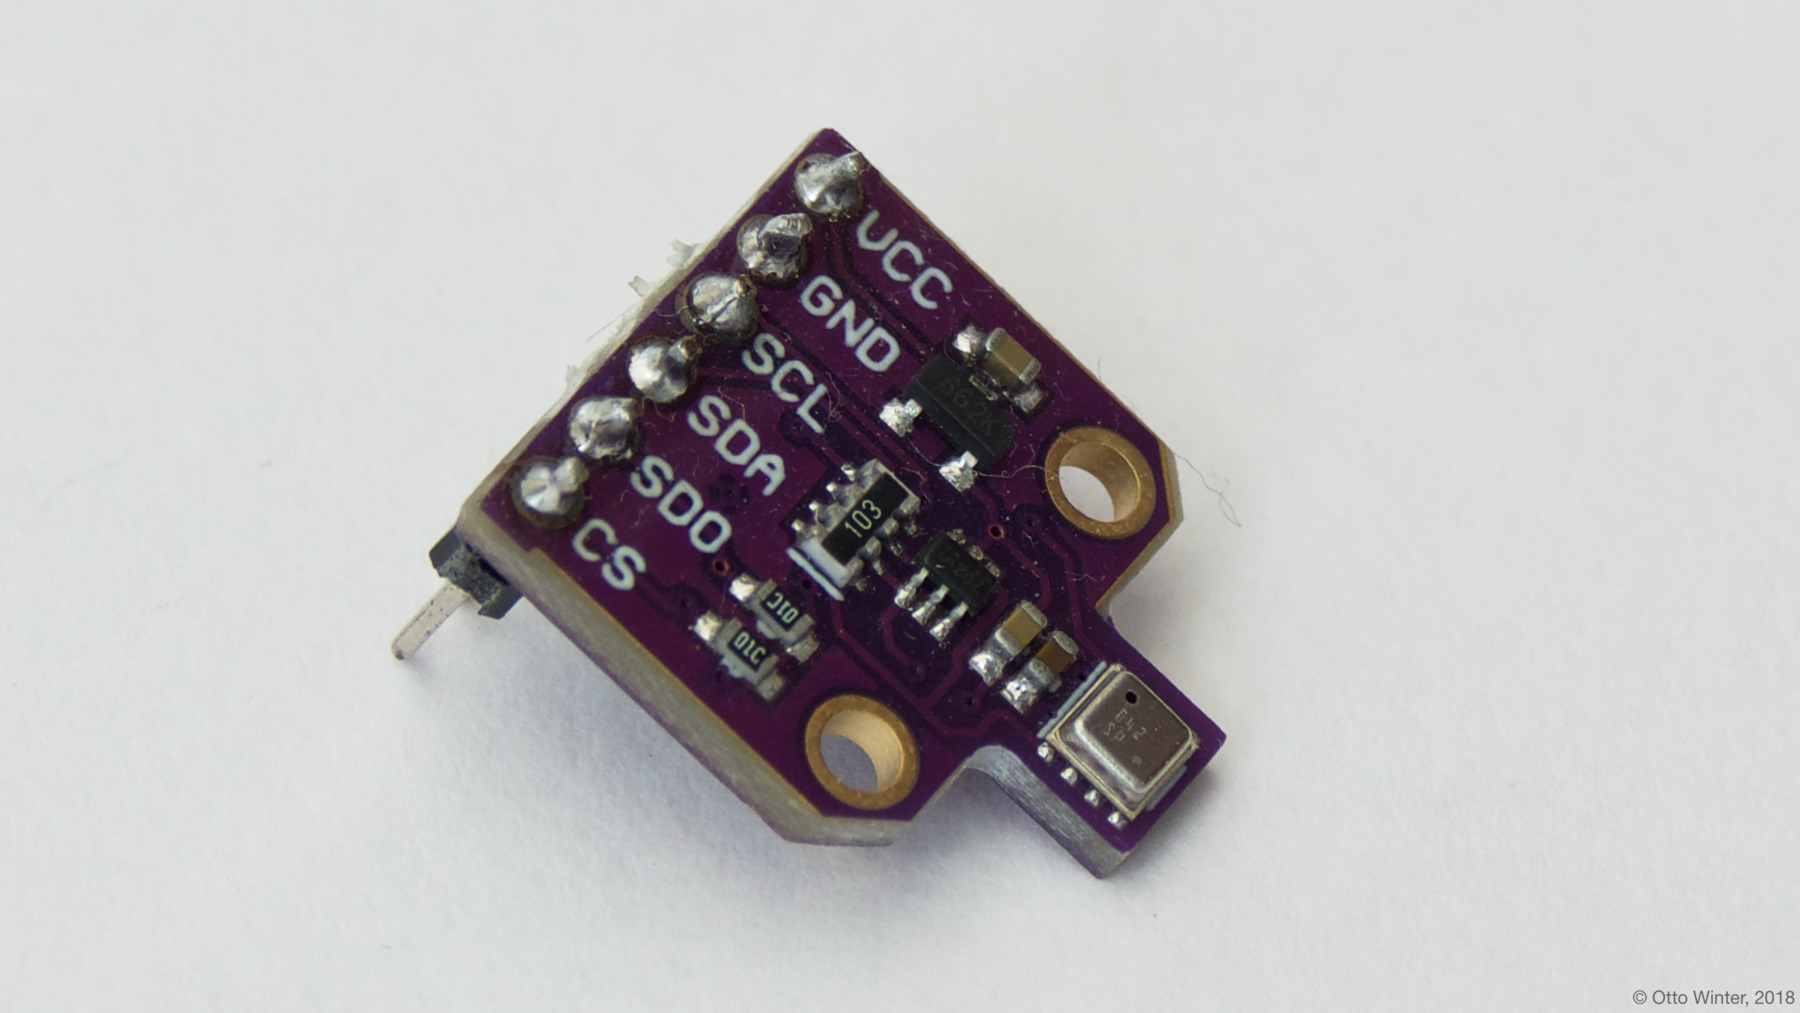 {: style="height:50%;width:
50%"}
{: style="height:50%;width:
50%"}
More info about the BOM and what the groups are all about can be found here.
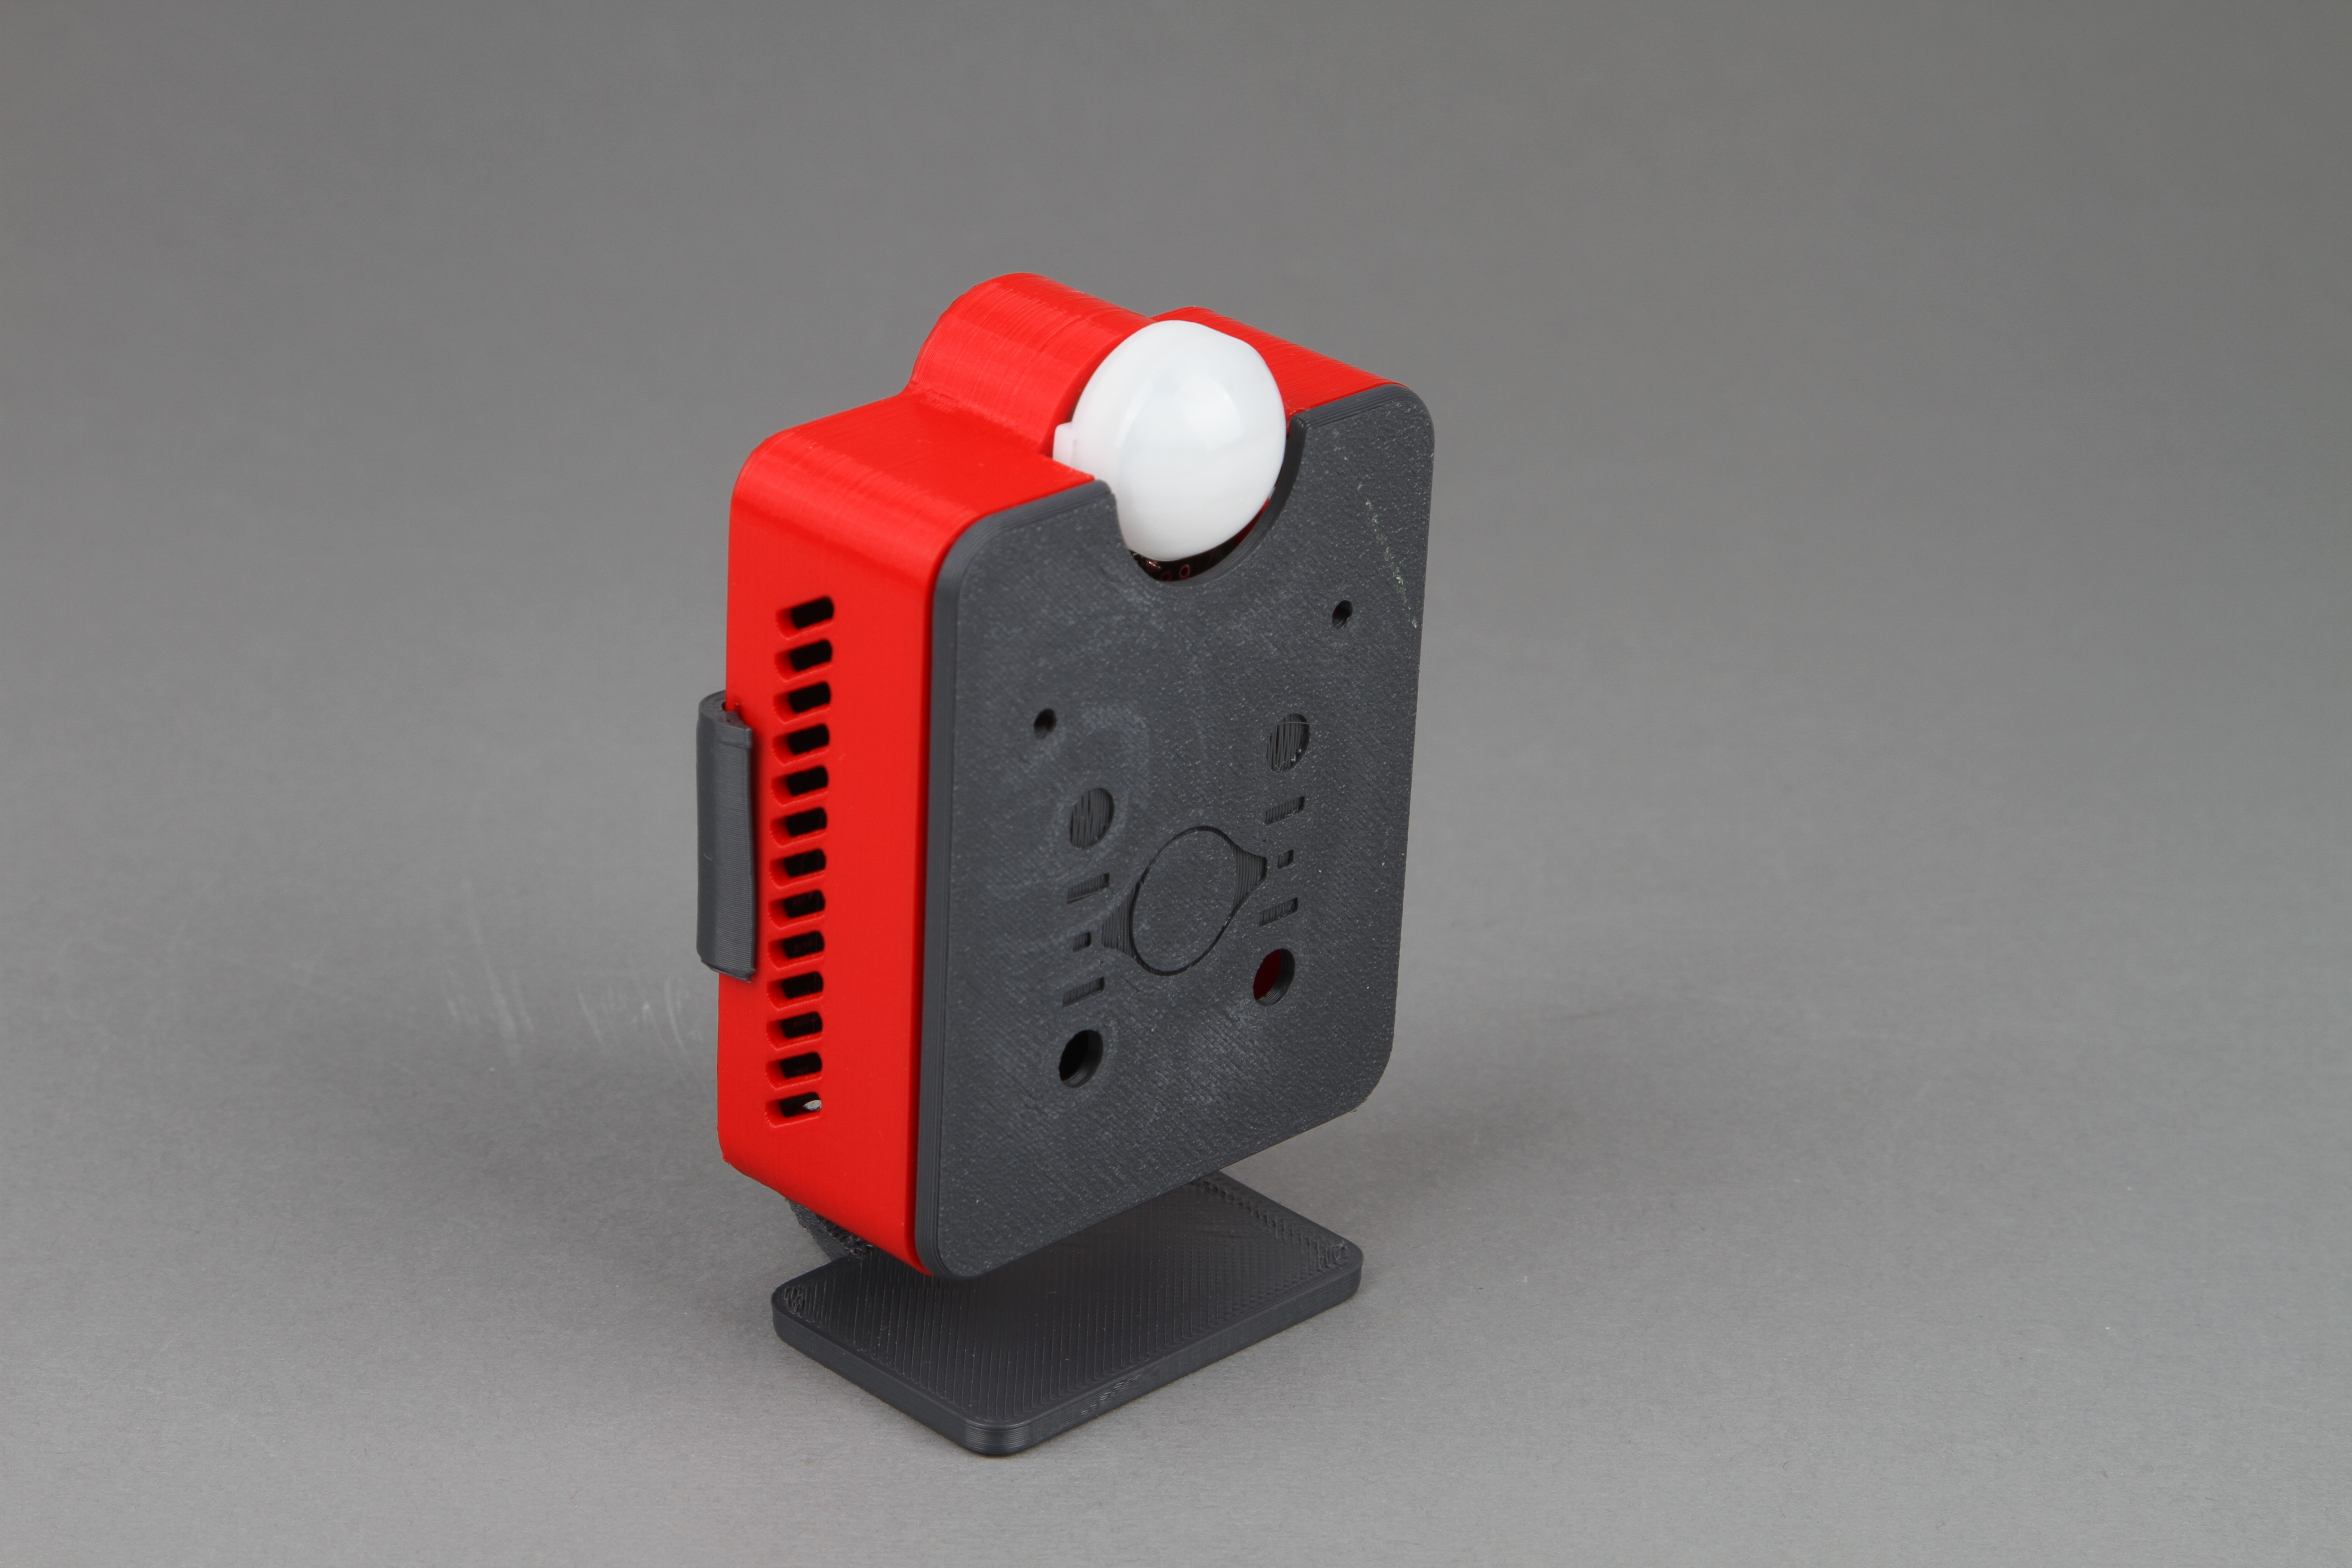
Assembly (wip)
Should be easy and self explainable.
Flashing Firmware
Now you have a fully assembled AIOsense but how can you integrate this in Home Assistant?
Installing the ESPHome dashboard
This will only work for Home Assistant OS and Supervised. For all other versions please use the docker image or install it manually.
First we need an ESPHome Dashboard. The best way to get one is by using the official Home Assistant add-on.
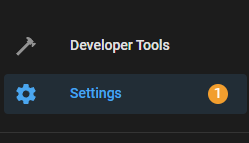
Therefore, we go to our Home Assistant instance and click
on Settings -> Add-ons:

We can find the ADD-ON STORE in the bottom right corner:

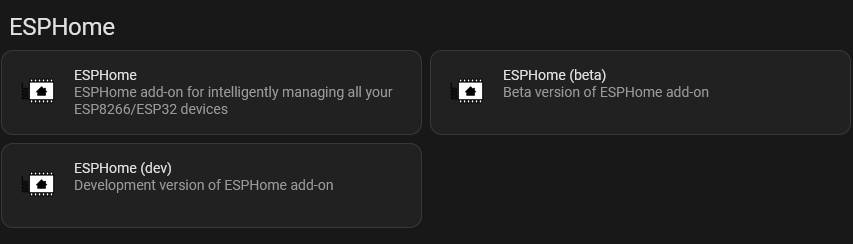
We are looking for the ESPHome add-on (without beta and dev) and install it.
The installation can take several minutes, so please be patient. Afterward we
enable Start on boot, Auto update and Show in sidebar.

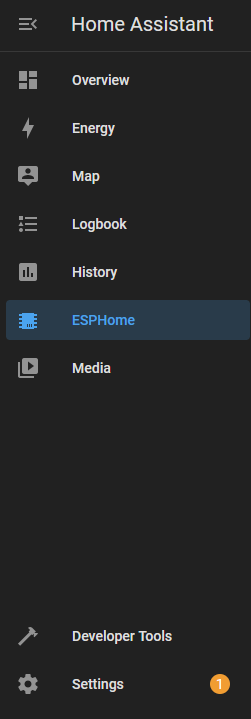
We can now open our dashboard by clicking on it at the sidebar:
Flashing
With an open dashboard we can now flash our device, but first we need some configuration.
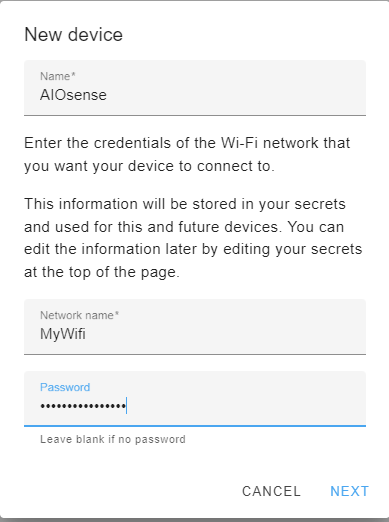
Click New Device and fill out the form:
Skip the installation on the second screen and choose the ESP32-C3.
We don't need the encryption key yet. Skip it.
Our device is now displayed on the dashboard. You need to change the
configuration. Click EDIT.
This is the configuration that will be flashed onto your device. We need nothing of this but the api encryption key and the ota password so copy/save these values for later.
Replace the hole file with the content of
this
file and replace both <secret> values with your saved ones and change lines
2-4 to the name you pick earlier.
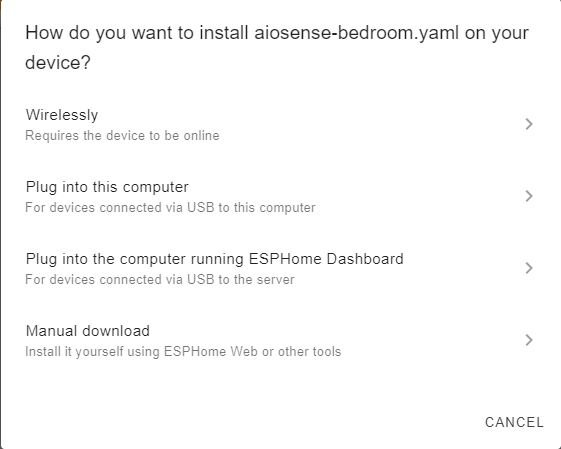
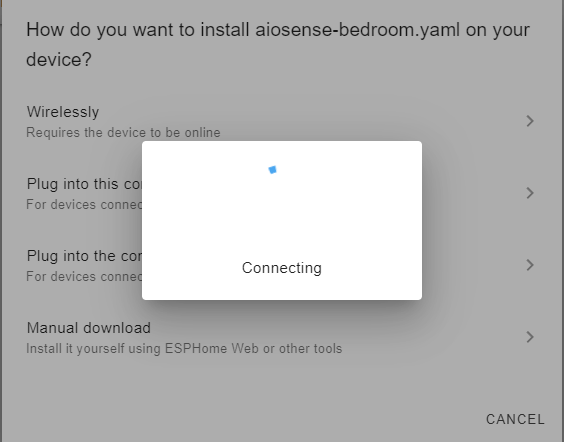
Everything changed? Great! If not already done, connect the board via USB to
your PC, click INSTALL in the top right corner and
select Plug into this computer as flashing method.
This will only work on a Chromium based browser. For all other browser please take a look how to flash manually
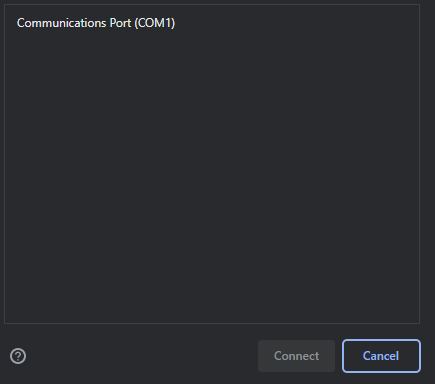
A popup will ask for the COM port. Select the port of the board and click
Connect.
Your browser will now connect to your board and flash it. This can take several minutes. The blue circle will spin without any additional feedback. Be patient.
Your AIOsense is now ready to use
Home Assistant Integration (wip)
...
Further steps (optional)
³ Affiliate link
My PCB prototypes are sponsored by PCBWay.